

Fall and winter can sometimes be challenging for your skin, especially when you miss the sun and want to maintain your tan. That’s when self-tanner is the perfect (and healthiest) solution for the dull, dark months. With the right self-tan routine, you can enjoy a natural, radiant glow all season long, without the harmful effects of the sun. Here, you’ll find the best steps for the perfect self-tan routine in fall and winter, with tips and products to help your tan last and look beautiful.
Step 1: Exfoliate your skin thoroughly
An even, long-lasting tan starts with proper exfoliation. If your skin is dry and flaky, or there’s still some old self-tanner on it, the new layer of self-tanner can settle into those areas, causing streaks. A gentle scrub or exfoliating product helps your skin absorb the color evenly.
What you’ll need:
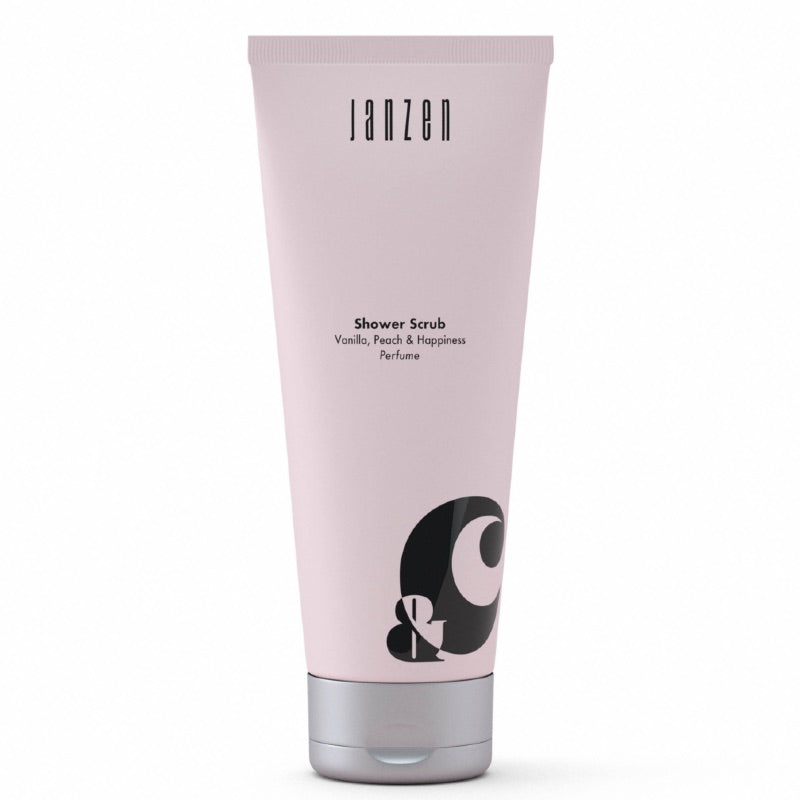
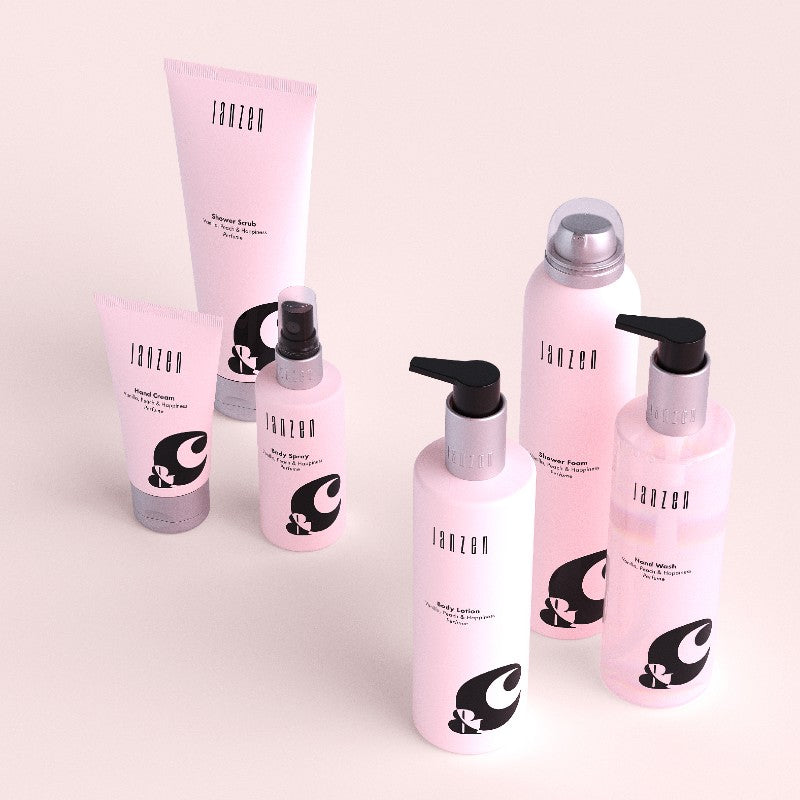
- A scrub such as Janzen &C Shower Scrub Vanilla Peach
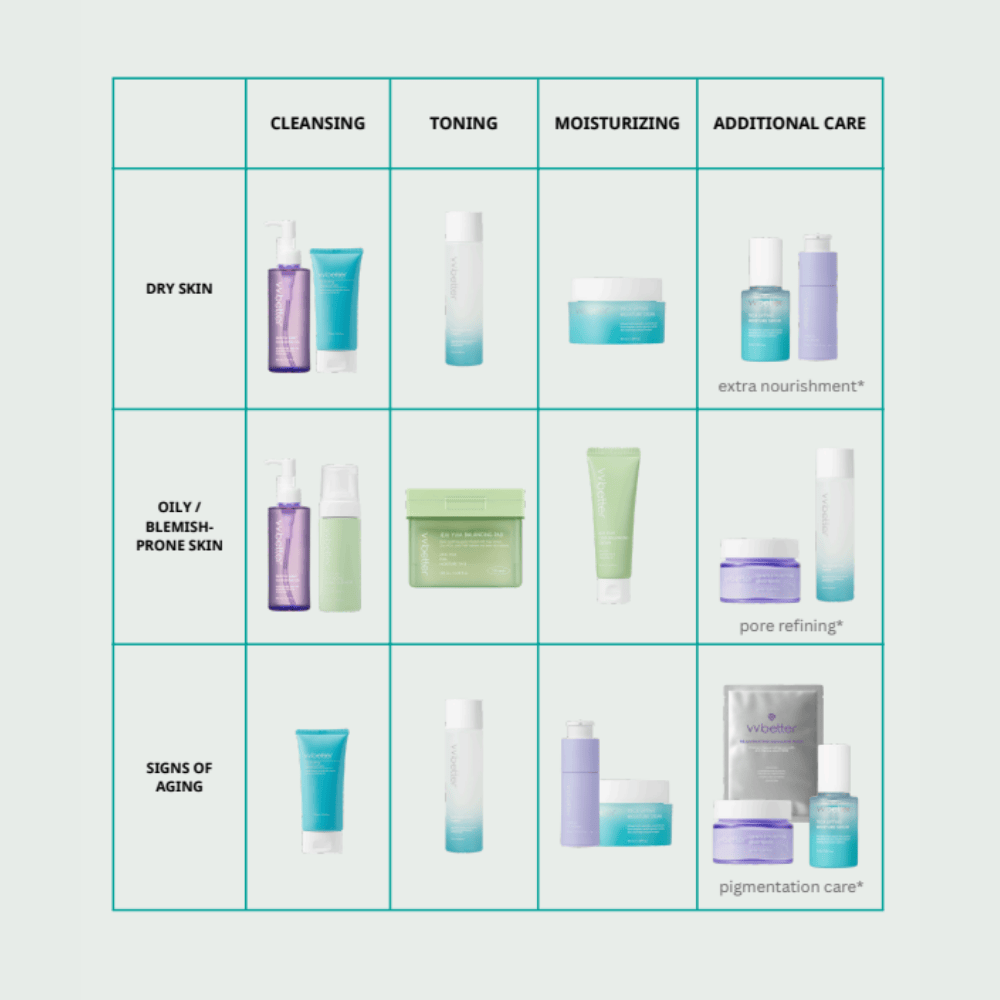
- A facial scrub or peel, such as VVBETTER AHA Boosting Toner
Make sure to rinse and dry your skin thoroughly afterward so no scrub residue is left behind.
Step 2: Moisturize your skin
Self-tanners work best on hydrated skin. Dry areas, such as the elbows, knees, and ankles, can absorb more product, making streaks more likely. Make sure to moisturize your skin well with a good body lotion or self-tan moisturizer.
What you’ll need:
- Moisturizing body lotion, such as Moroccanoil Body Lotion Original
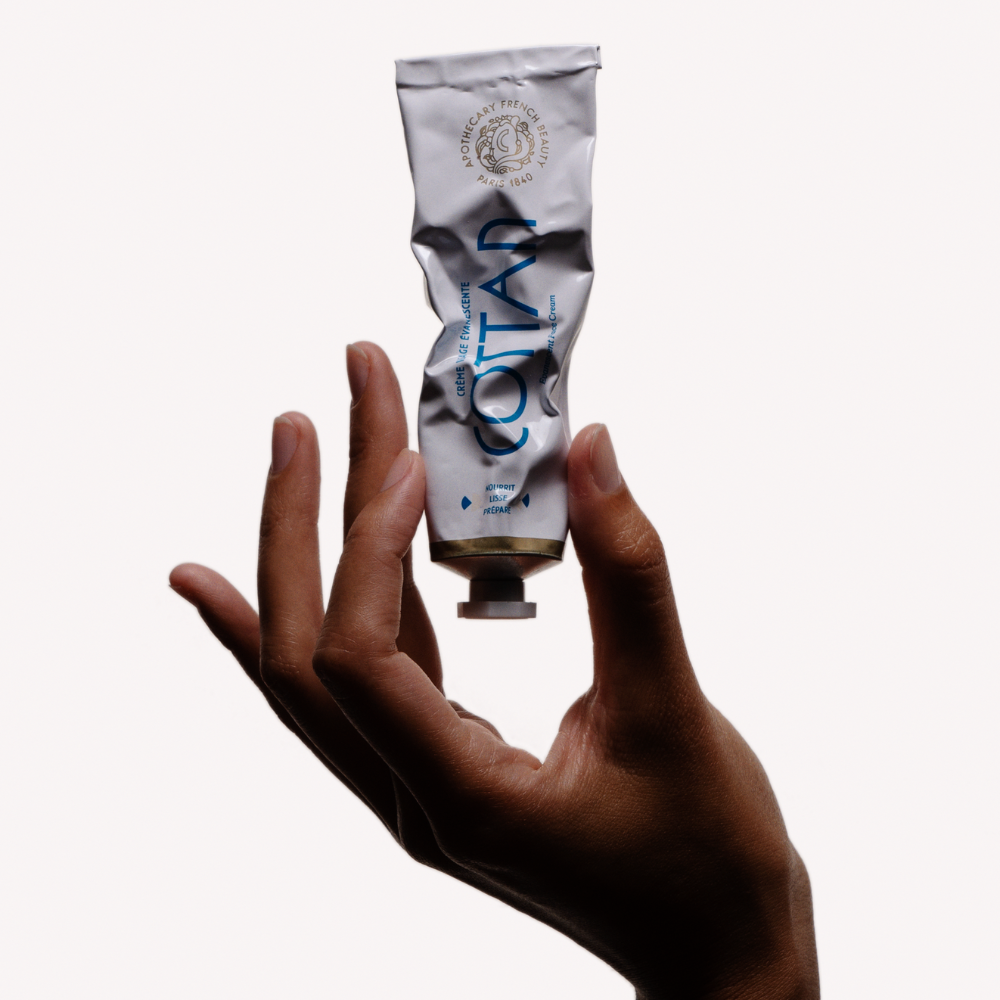
- Face cream, such as Cottan Evanescent Face Cream, also one of John’s favorites










Step 3: Choose the right self-tanner
Choose the right self-tanner for your skin type and the results you want. There are many different formulas, such as mousses, sprays, creams, and drops that you can mix with body lotion. There are also different shades, from light to dark brown. Look for a formula that absorbs quickly, doesn’t streak, and doesn’t leave an orange tint.
What you’ll need:
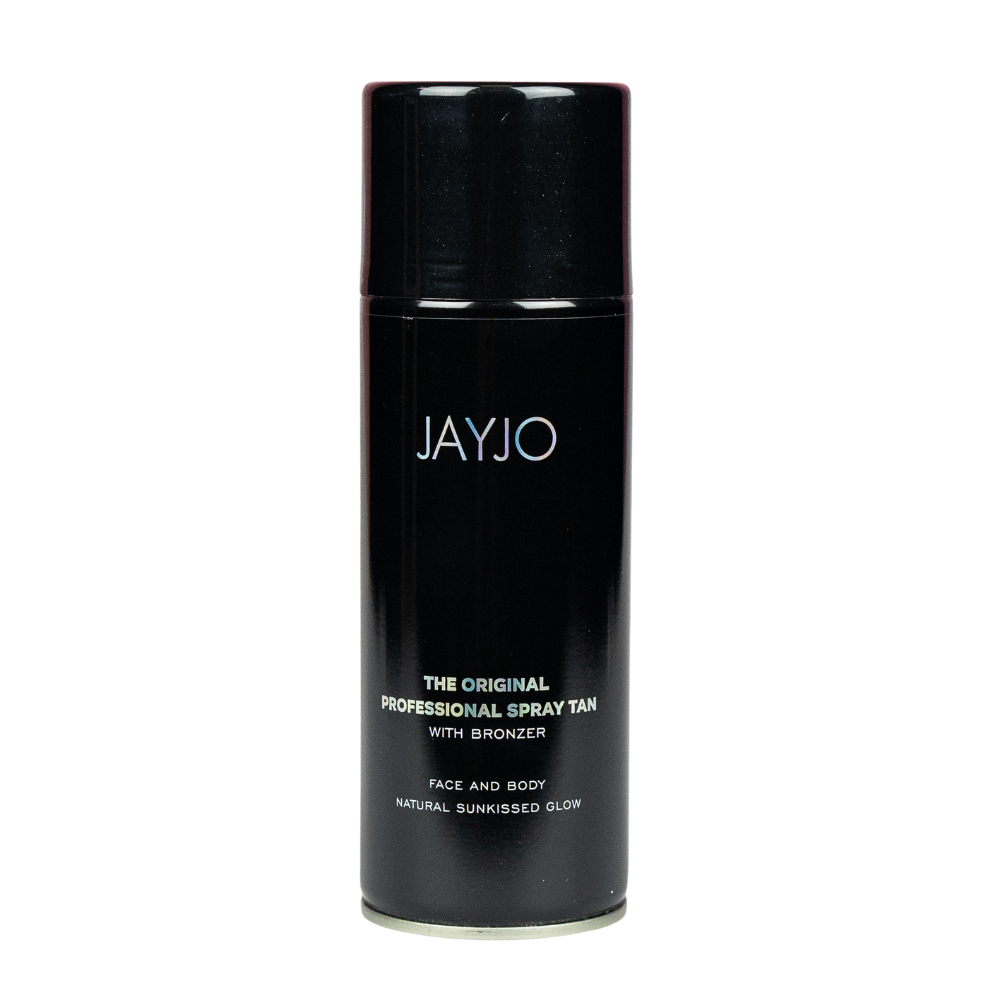
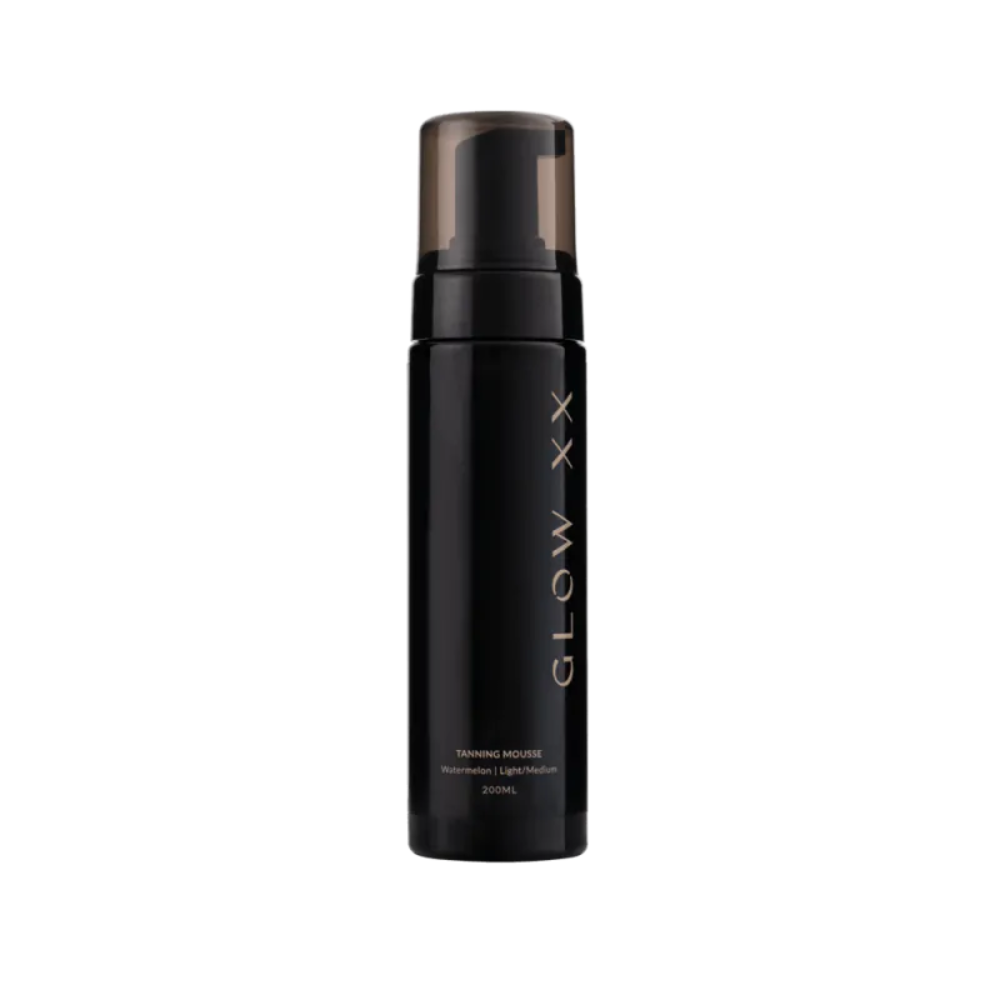
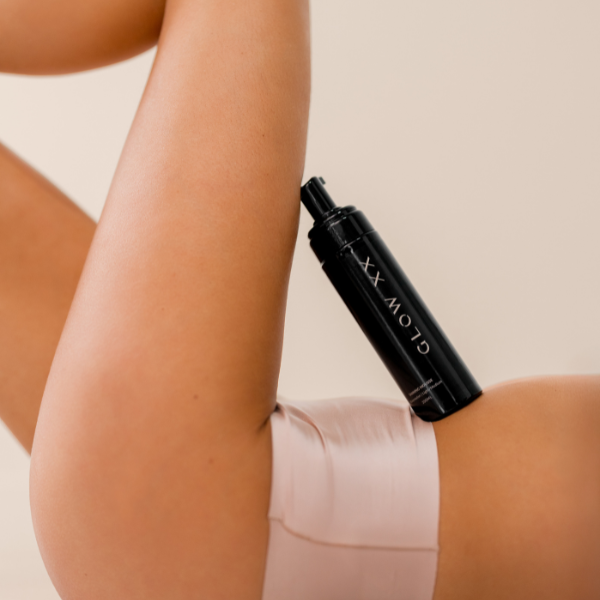
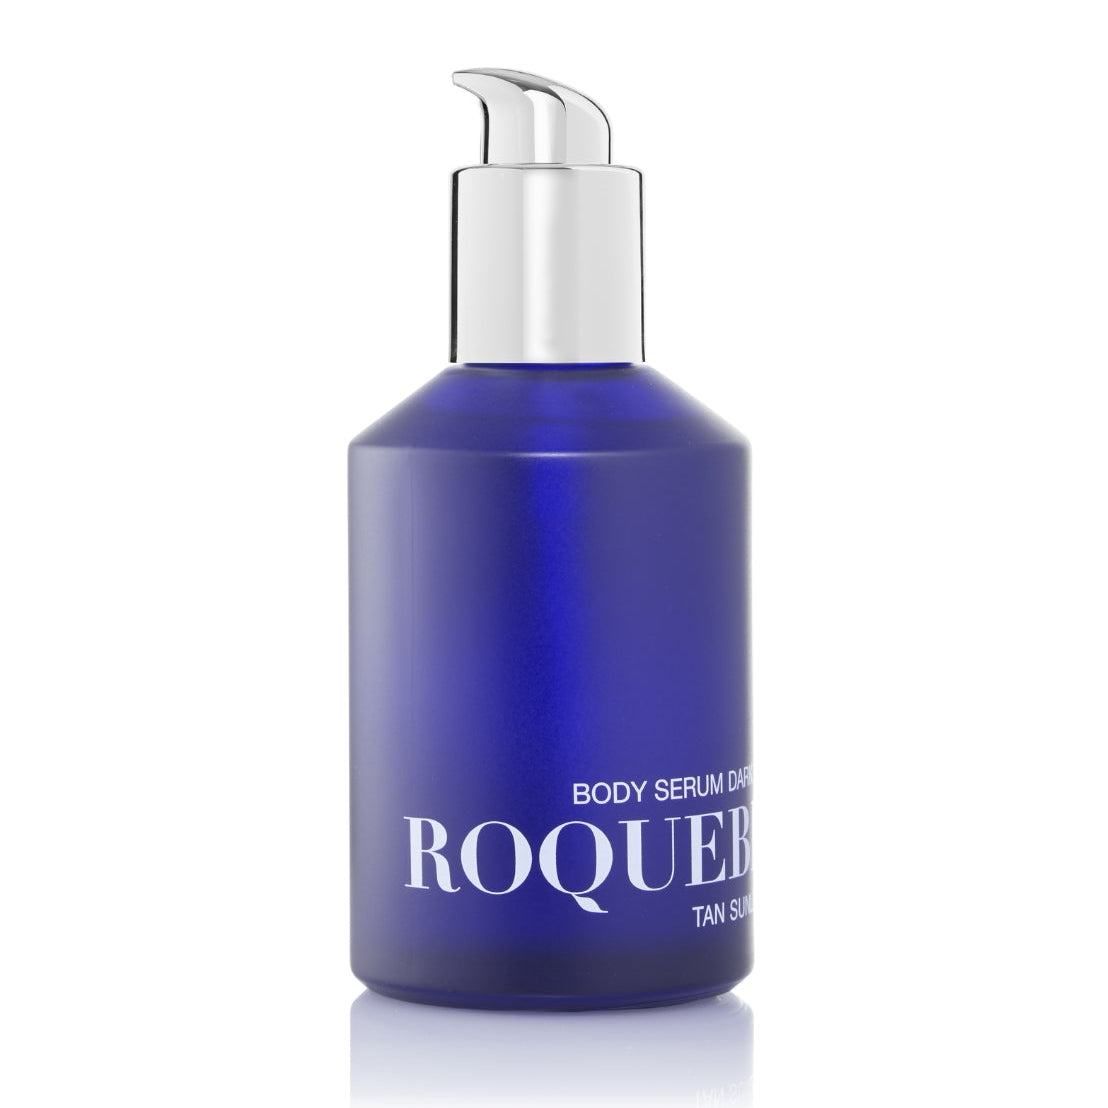
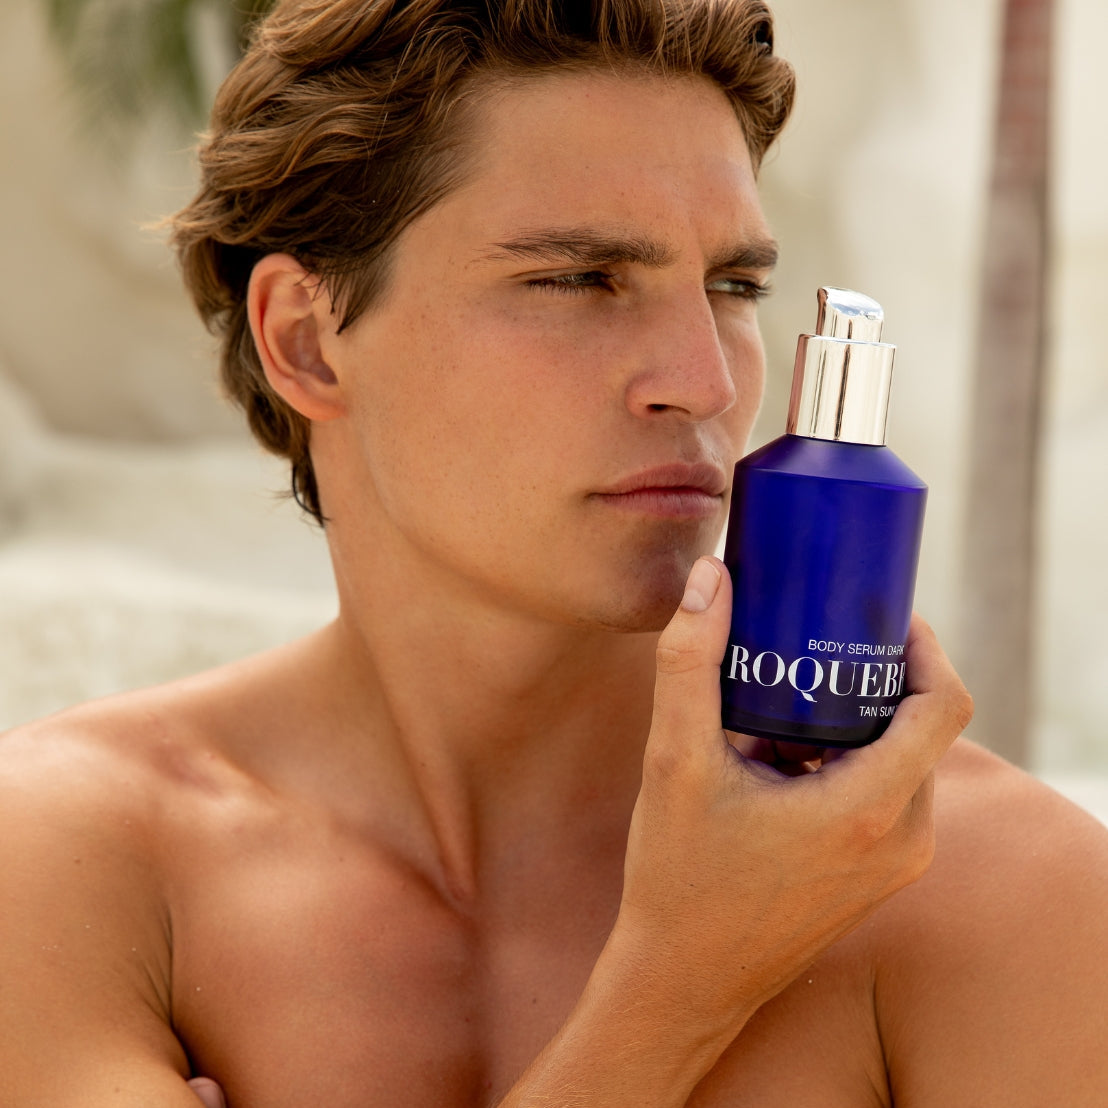
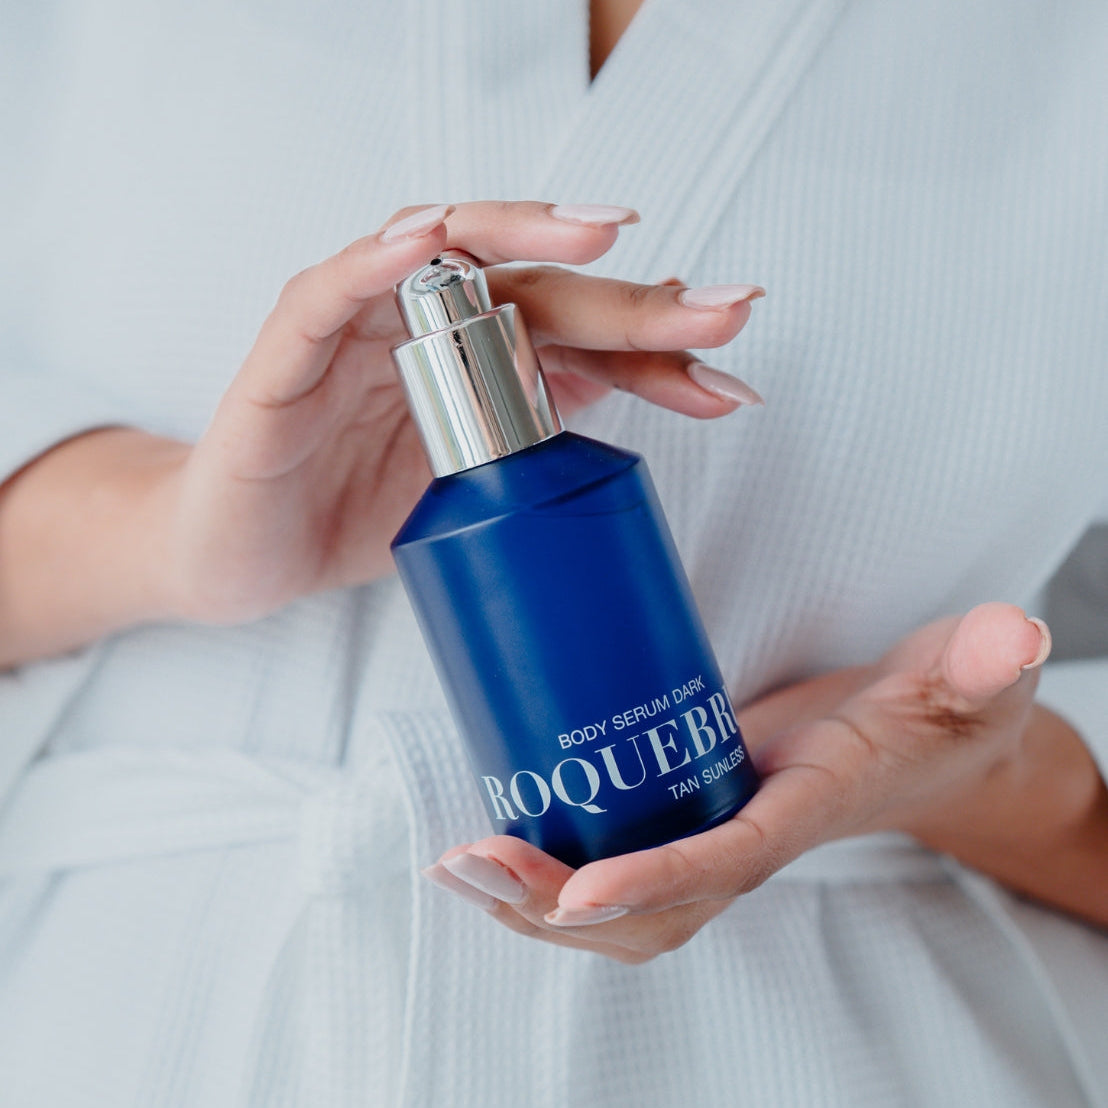
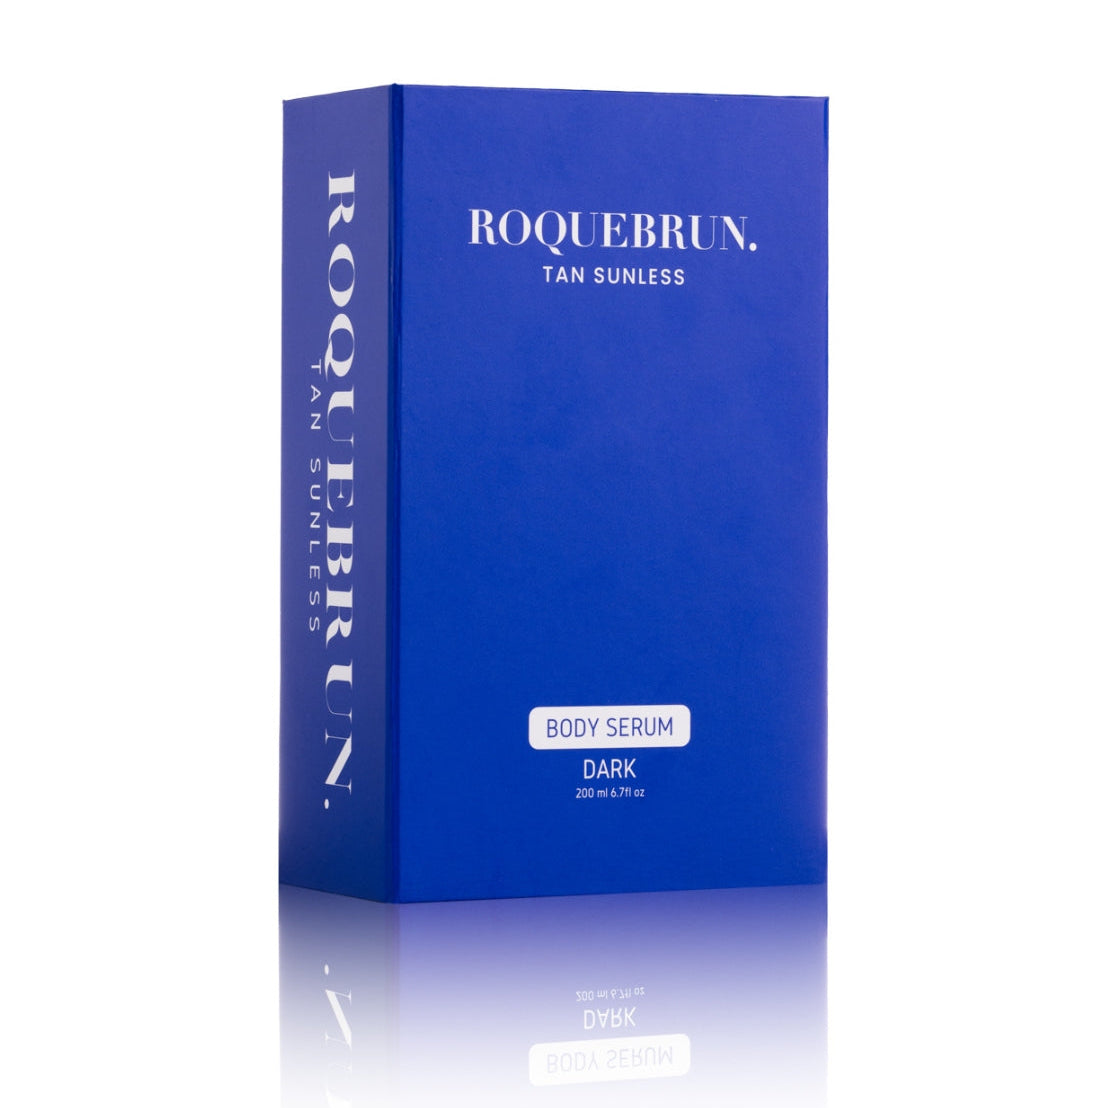
- There’s a huge range of self-tanners to choose from. For example, tanning sprays like JAYJO The Original Professional Spray Tan, or a tanning mousse like GlowXX Mousse. Another option is a body serum, such as the one from ROQUEBRUN.
- A self-tanner applicator mitt, such as the JAYJO Exfoliating Tanning Mitt.
- There are also special formulas for the face, such as a tanning mist, for example Coco & Eve Antioxidant Face Tanning Micromist
Click here to view our full tanning range



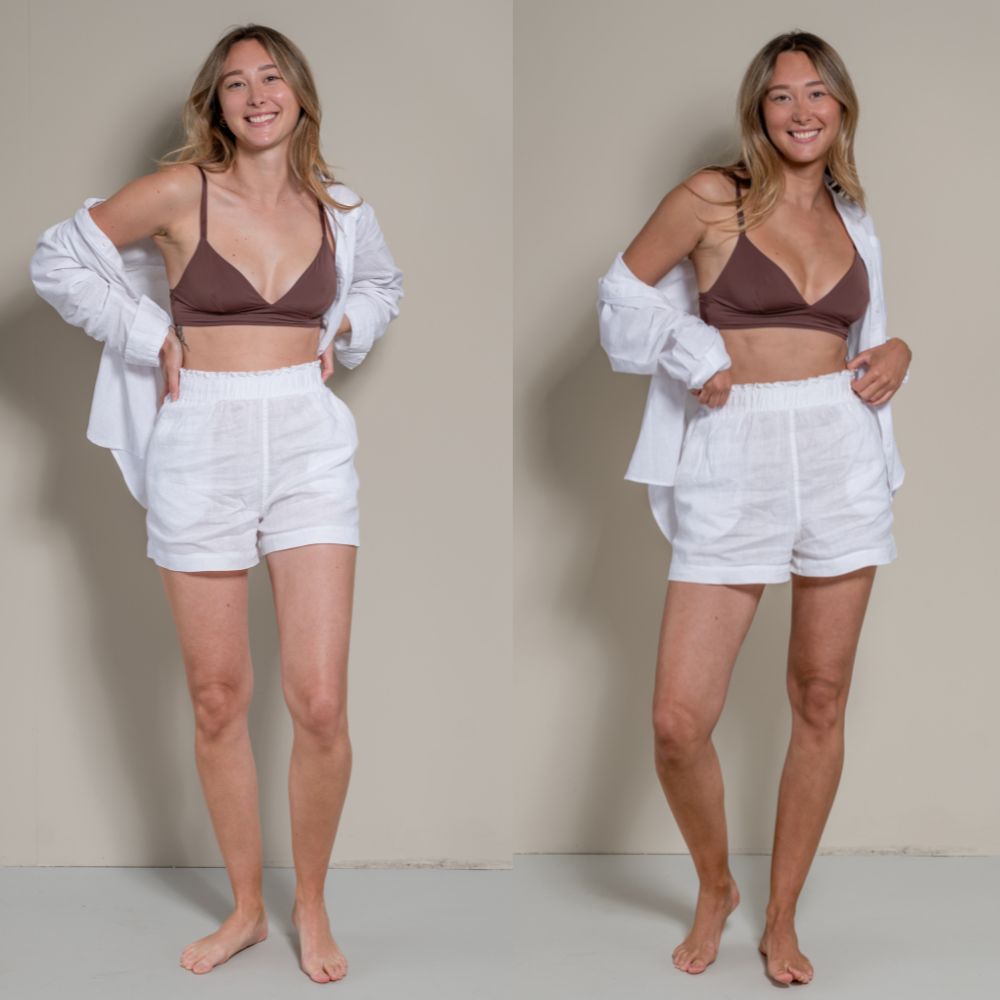
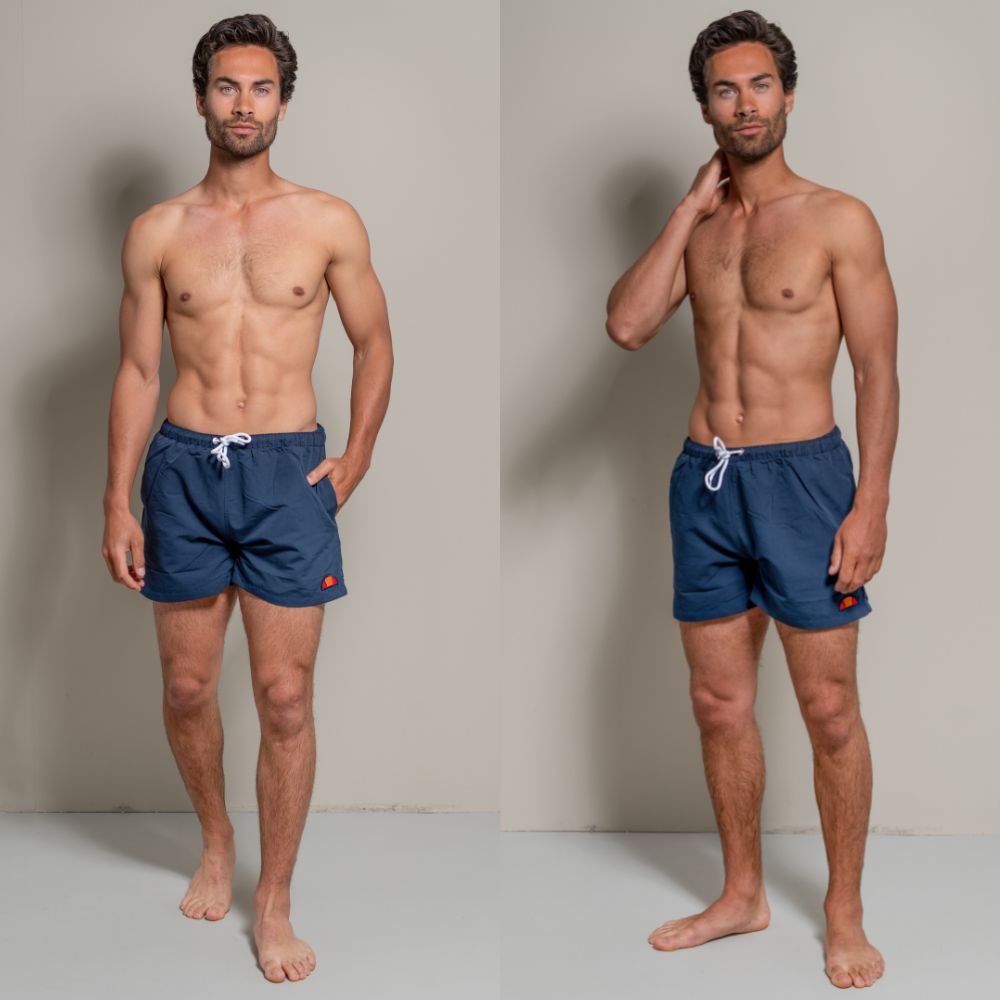
Step 4: Apply the self-tanner
As mentioned above, use an applicator mitt to apply the self-tanner evenly. Start with your legs or arms and work your way up to your stomach and chest. This prevents you from touching your hands or other body parts too much, helping you achieve a streak-free, natural-looking tan.
How to apply:
- Start with small amounts and work your way up from your feet. Make sure to massage the product well into your skin.
- Pay close attention to the edges of your hands, feet, ankles, elbows, and knees. Apply carefully and sparingly here to avoid using too much.
Tip: Don’t forget your hands! It’s often helpful to apply a little extra product to your mitt and rub the last traces of self-tanner onto your hands. This prevents noticeable lines on your wrists or hands.
Step 5: Let the product develop
After applying self-tanner, it’s important to wait a few hours (or as directed on the packaging), especially before coming into contact with water. Usually, you should let your self-tanner develop for 6-8 hours for the best results. The longer you wait, the deeper the color will be.
What you’ll need:
- Loose, dark clothing to wear after applying self-tanner. This prevents stains on white or tight-fitting clothes and helps the self-tanner stay on your skin.
- Patience!
Tip: Be careful, self-tanners can leave stains!
Step 6: Maintain your tan
Once your self-tanner has developed, you’ll naturally want the color to last as long as possible. Hydration is essential for keeping your tan looking great. Use a self-tan moisturizer or regular body lotion to keep your skin supple and reduce fading.
What you’ll need:
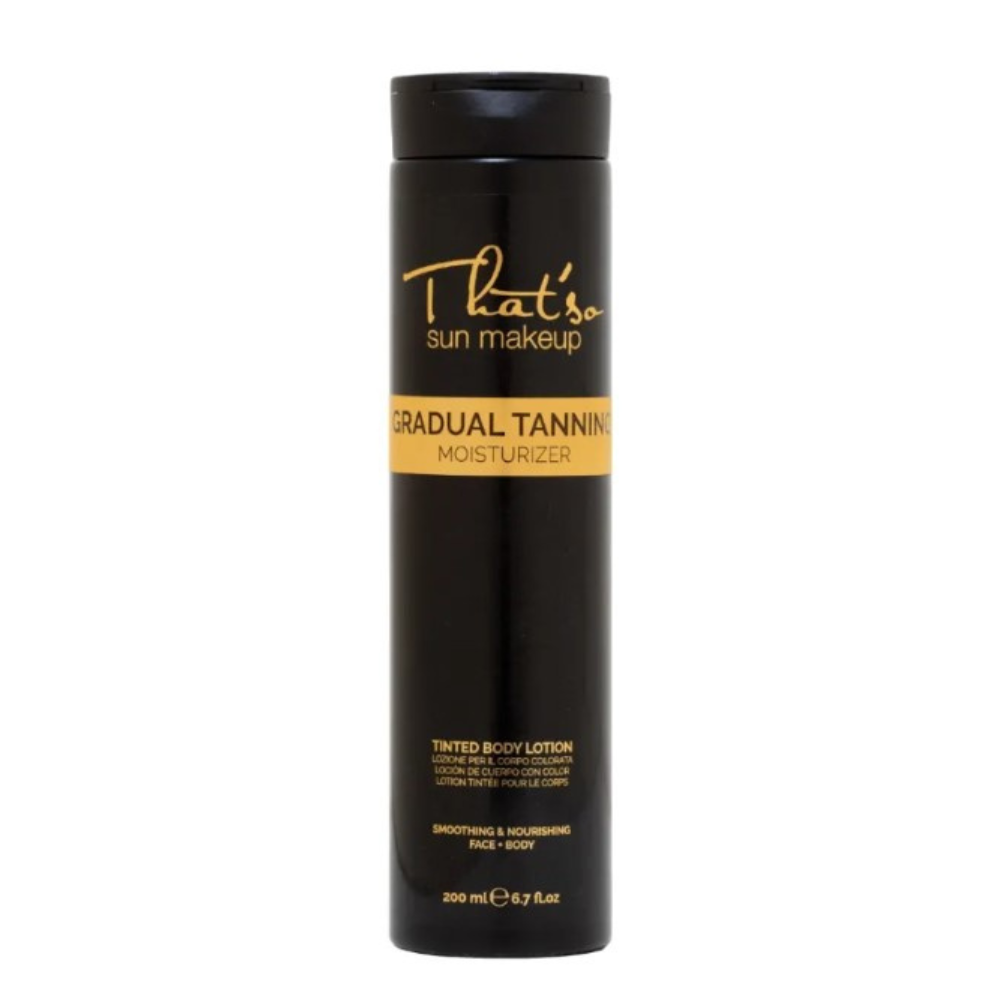
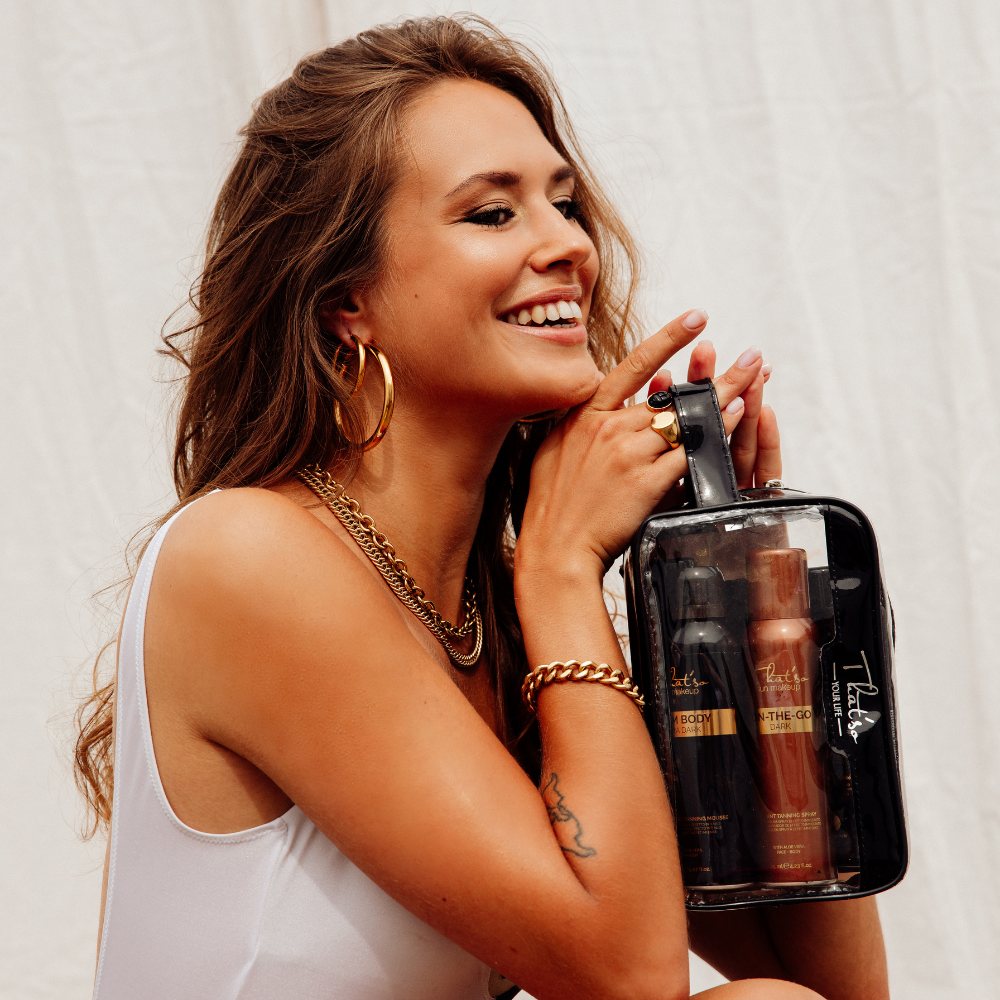
- Moisturizing body lotion (ideally a moisturizer with a tan extender to prolong the color), such as That’so Gradual Tanning Moisturizer self-tan moisturizer. It hydrates your skin and can extend the wear of your self-tanner for a longer-lasting tan.
After a while, you’ll probably want to remove your self-tanner and reapply it. Exfoliating is the best way to remove fading tan evenly. Gently exfoliate your skin to remove all traces of self-tanner. Then repeat the steps!


